
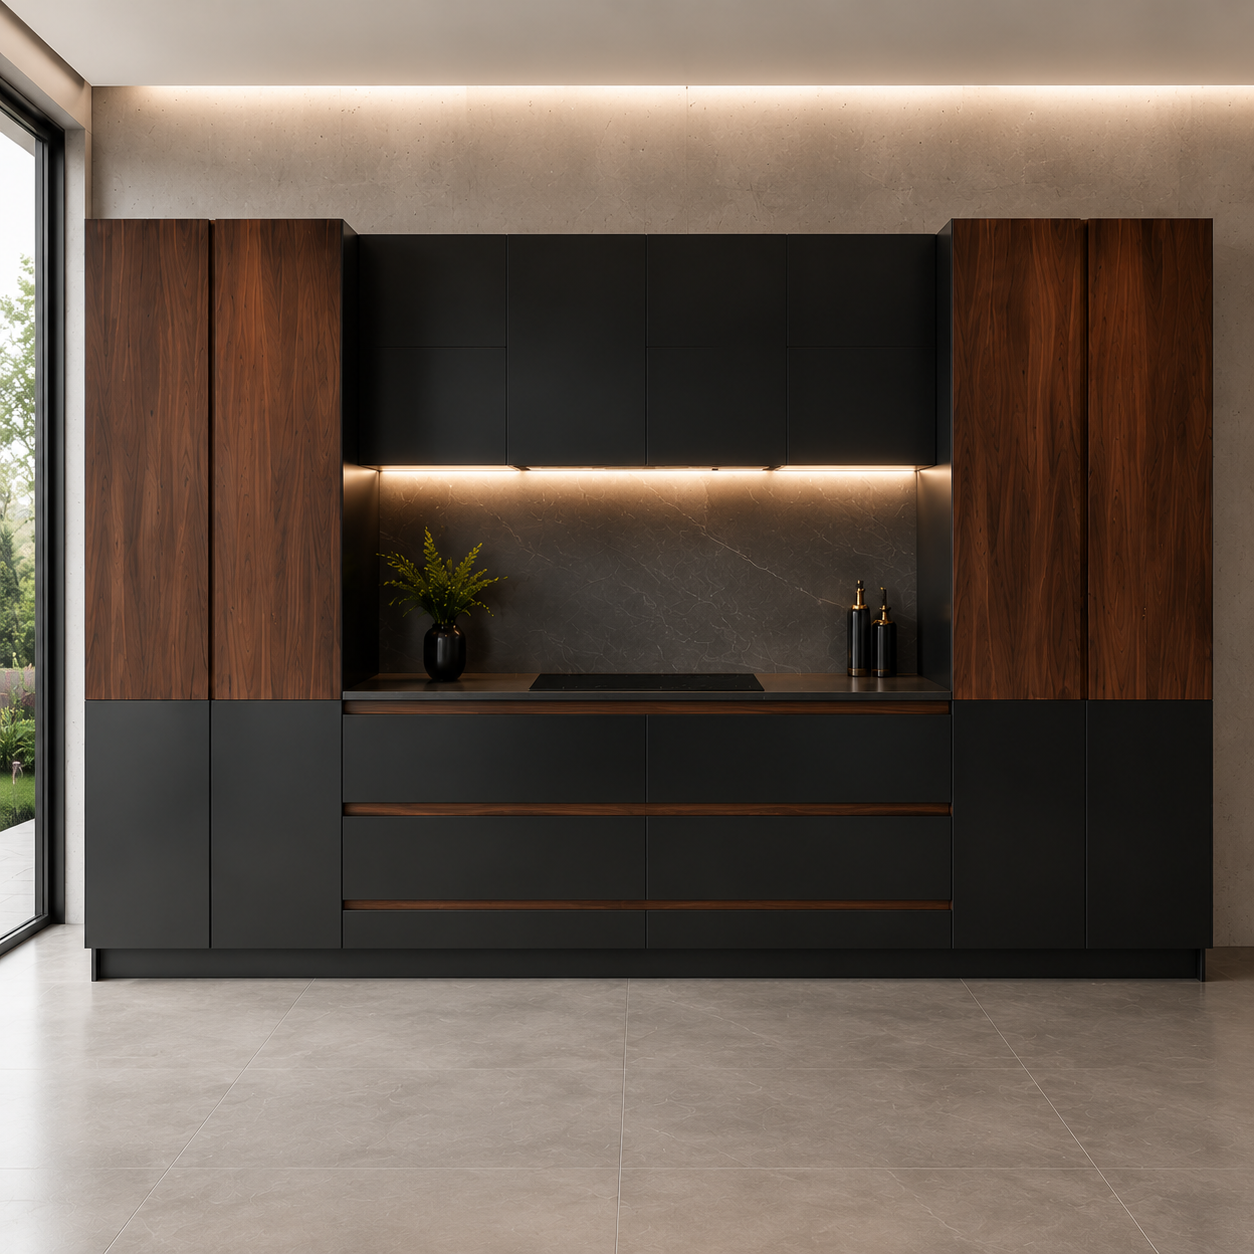
The Professional Guide to Kitchen Cabinet Layout and Measurement for Commercial Projects
Accurate spatial planning forms the foundation of any high-end interior development. For builders, renovation companies, and project contractors, a minor discrepancy in initial measurements can lead to costly delays, material waste, and compromised aesthetics during final installation. When executing luxury residential or hospitality developments, understanding the exact science behind spatial planning ensures seamless integration of premium fixtures.
This comprehensive guide delivers a systematic framework for measuring architectural spaces, aligning with standard industry dimensions, and avoiding common pitfalls on the job site. By establishing a rigorous verification process, installation teams can optimize workflows and ensure that custom millwork fits perfectly into the designated architectural envelope.
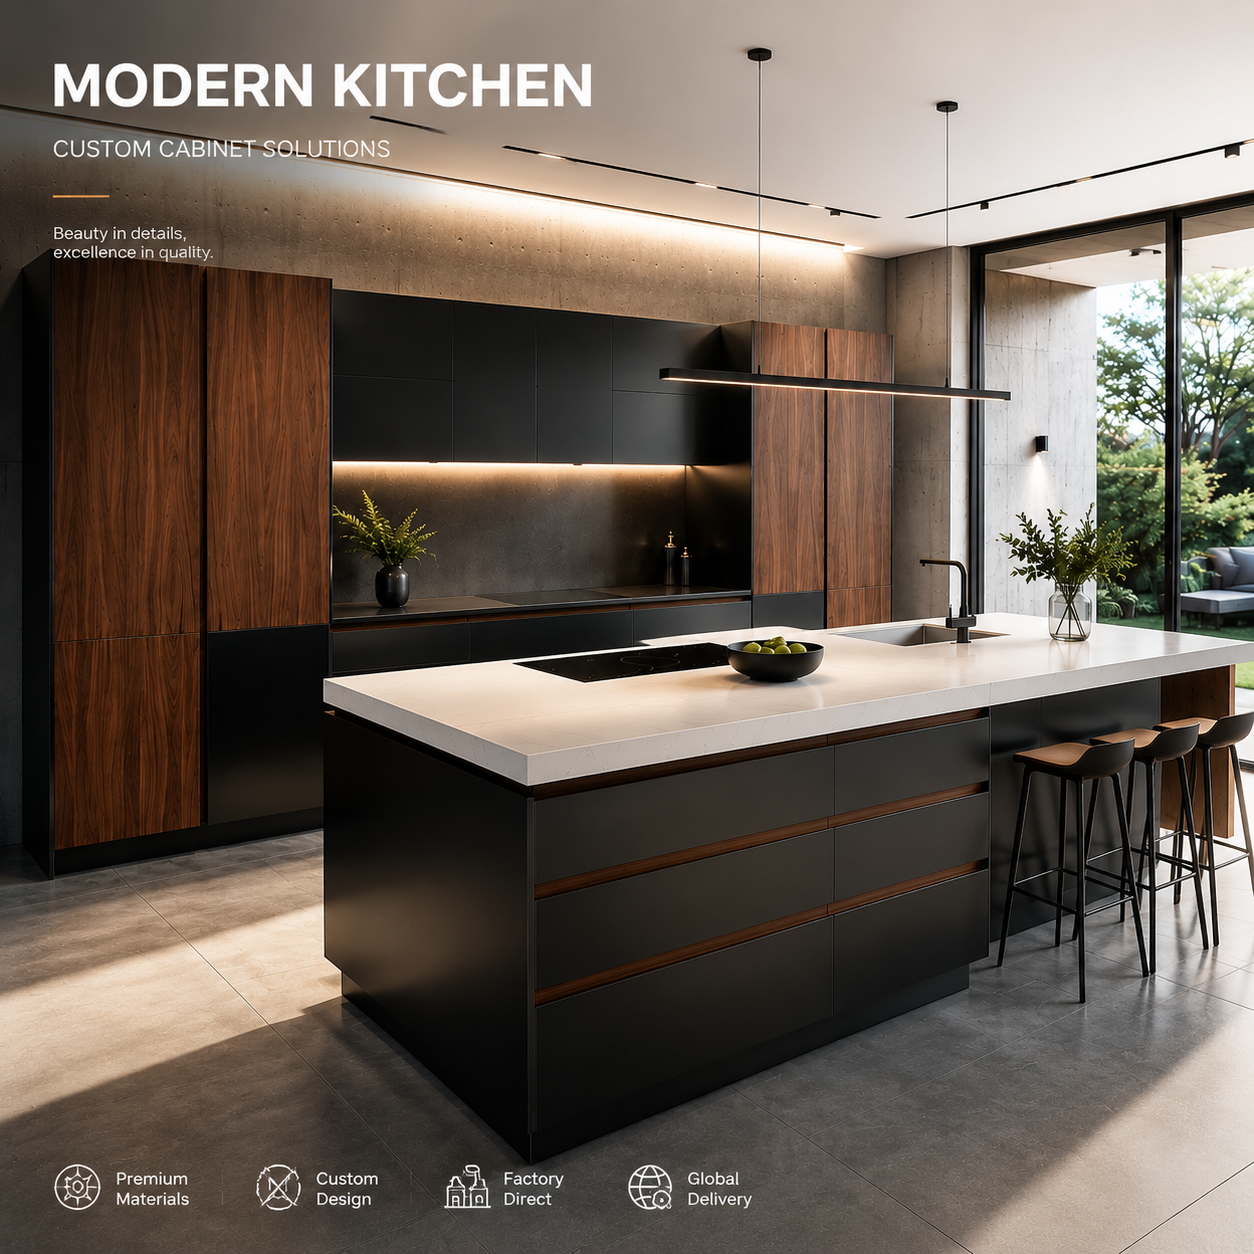
Essential Tools for Precision Field Measurements
Before initiating the physical survey of a kitchen space, outfitting the technical team with calibrated diagnostic instruments is non-negotiable. Relying on substandard equipment introduces cumulative errors across long wall spans.
- Laser Distance Meter: Essential for capturing long structural spans and cross-verifying overall room dimensions with millimeter precision.
- Heavy-Duty Steel Tape Measure: A certified 8-meter steel tape with a wide blade stands as the primary tool for localized filler blocks and detailed cabinet runs.
- Digital Laser Level: Projects perfect horizontal and vertical datums across uneven structural walls, revealing structural deviations before manufacturing begins.
- Digital Angle Finder: Essential for evaluating whether corner wall intersections are perfectly square at 90 degrees.
A Step-by-Step Guide to Kitchen Cabinet Measurement
Executing a flawless kitchen cabinet layout requires a structured approach to mapping the structural shell. Field teams must record every architectural element on a comprehensive floor plan diagram.
Step 1: Establishing the Architectural Base Span
Begin by measuring the clear plaster-to-plaster wall distances at three distinct heights: floor level, midpoint (approximately 1200mm from the finished floor), and ceiling level. Walls in commercial construction are rarely perfectly plumb. Recording the minimum dimension among these three points prevents millwork from binding during installation.
Step 2: Mapping Architectural Openings and Structural Protrusions
Measure all windows, doors, and structural columns along the perimeter walls. When documenting openings, measure from the outside edge of the casing or trim rather than the rough opening. Note the exact distance from adjacent corners to the edge of the window trim, ensuring the future cabinet run does not overlap architectural features.
Step 3: Documenting Mechanical, Electrical, and Plumbing (MEP) Points
Mark the precise center lines of all utility connections. This includes plumbing supply lines, waste drainage stacks, gas lines, dedicated electrical outlets, and ventilation ducts. If a project involves integrating a premium integrated bathroom vanity or complex plumbing configurations in an adjacent utility space, aligning these terminal locations early prevents on-site structural modifications.
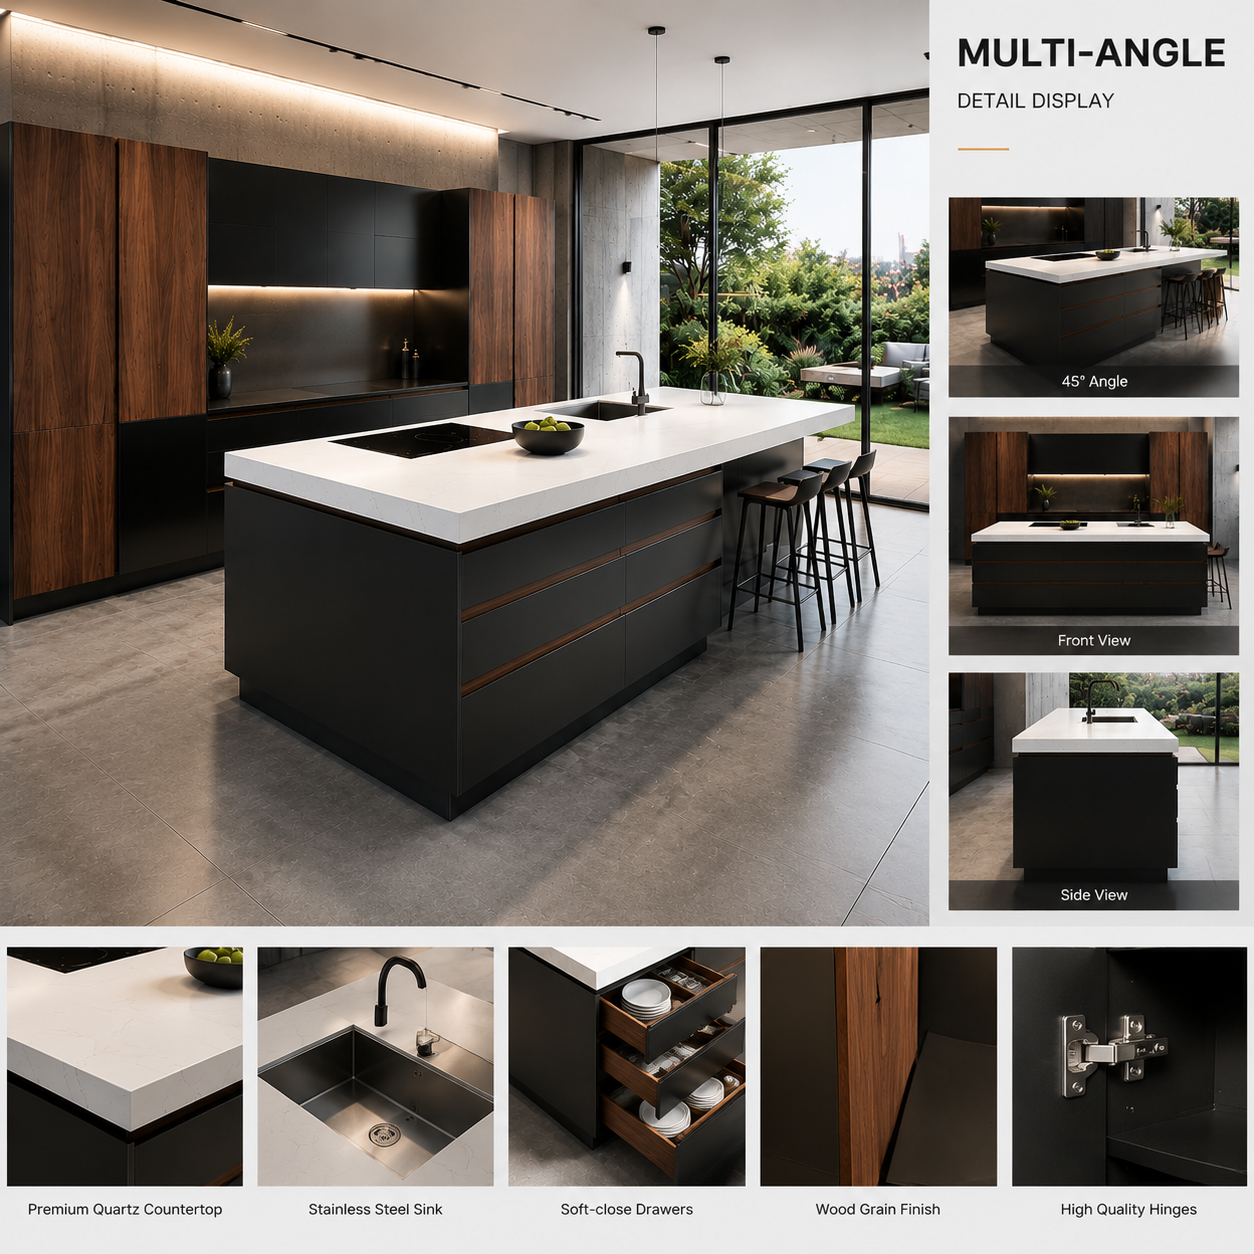
Standard Cabinet Dimensions and Spatial Ergonomics
Designing an efficient kitchen cabinet layout relies on observing standardized global modular dimensions. Adhering to these specifications allows global procurement managers to source modular systems confidently while ensuring built-in appliances fit seamlessly.
Base units typically feature a standardized height of 870mm to 900mm from the finished floor line, excluding the countertop thickness. The standard depth remains fixed at 600mm, providing optimal workspace area while accommodating deep under-mount sinks. Wall-mounted upper cabinets generally utilize a shallower depth of 300mm to 350mm, preventing head interference for the end-user while maintaining a balanced vertical sightline.
"In luxury multi-family developments, standardizing structural modules reduces lead times and installation friction, allowing premium finishes to define the spatial experience."
Vertical clearance between the finished countertop and the underside of wall cabinets must be strictly maintained between 450mm and 500mm. Lowering this clearance restricts the usability of counter-top appliances, while raising it limits access to the upper storage shelves, directly impacting daily ergonomics.
Integrating Heavy Appliances and Specialized Hardware
Modern luxury kitchens demand seamless integration between structural cabinetry and high-performance appliances. Procurement teams must collect technical data sheets for all specified refrigeration, cooking, and sanitation appliances before completing the production drawings.
Built-in dishwashers require a clear opening width of exactly 600mm, with the internal cavity fully finished and free of structural bracing. When planning for built-in ovens and microwave combinations within tall tower units, verify ventilation requirements; many high-end cooking appliances necessitate a dedicated air intake path at the plinth level and an exhaust channel at the rear of the cabinet column.
For large-scale commercial layouts, extending storage solutions to surrounding spaces enhances overall property value. Incorporating high-end modular organizers, such as a premium mirror cabinet or specialized stainless steel storage units in adjacent pantry zones, establishes a cohesive design language throughout the interior layout.
Mitigating Critical Sourcing and Design Faults
Analyzing field errors across international construction projects reveals consistent oversights that compromise kitchen cabinet layouts. Implementing a strict pre-production checklist eliminates these vulnerabilities before components leave the manufacturing facility.
Neglecting Finished Floor and Ceiling Thicknesses
Measuring raw concrete structures without accounting for the finished floor thickness is a frequent source of error. Thick natural stone tiles, underfloor heating mats, or acoustic screeds can raise the floor level by 20mm to 50mm, completely disrupting the planned toe-kick heights and appliance alignments.
Ignoring Wall Out-of-Square Tolerances
A wall intersection that deviates even half a degree from a true 90-degree angle will cause a linear run of cabinetry to drift significantly away from the wall plane over a 3-meter span. Contractors should always plan for a minimum 20mm filler panel at the termination points of cabinet runs to absorb these structural variations gracefully.
Disregarding Door and Drawer Clearance Radii
Cabinet layouts frequently place deep drawers or appliance doors directly opposite projecting structural columns, window sills, or deep door handles. Ensure all hardware clearances are mapped through their complete operational arc, particularly in tight corner configurations.
Optimizing Layout Configurations for Commercial Scalability
Selecting the optimal layout blueprint directly impacts the manufacturing complexity and overall profitability of a multi-unit development. The choice between L-shaped, U-shaped, or linear gallery configurations depends heavily on the structural column grid of the building.
For high-density luxury apartments, the single-wall or linear gallery configuration offers maximum spatial efficiency. This approach concentrates plumbing and electrical paths into a singular structural wet wall, significantly lowering MEP contracting costs. In larger custom residences, L-shaped configurations paired with central islands provide the premium presentation buyers expect, though they require sophisticated internal corner hardware to prevent dead storage space.
When sourcing premium storage for complementary areas like luxury master suites or hospitality restrooms, integrating matching high-end hardware—such as a modern luxury bathroom vanity cabinet—maintains material consistency across the entire project footprint.
Frequently Asked Questions
How do you handle unplumb walls when installing a premium kitchen cabinet layout?
Unplumb walls are managed by utilizing extended scribe pieces and filler panels matching the cabinet face material. Cabinet carcasses are installed perfectly level using adjustable legs, while the filler blocks are custom-cut on-site to follow the precise contour of the uneven wall surface.
What is the minimum recommended clearance for kitchen islands in commercial designs?
For optimal traffic flow and safe appliance operation, a minimum clearance walkway of 1000mm is required. In luxury residential projects or high-traffic layouts, increasing this corridor to 1200mm allows two individuals to pass comfortably without disrupting workspace ergonomics.
Should cabinet measurements be taken before or after drywall installation?
Final production dimensions must always be verified after drywall installation and plastering are complete. Measuring raw framing studs introduces unpredictable variances, as drywall sheets, mudding compound, and corner beads add measurable thickness to the finished wall surfaces.
Get in Touch for Bulk Orders & Project Support
Looking for a reliable supplier of bathroom and kitchen products?
At Bergoto, we provide premium solutions for wholesalers, distributors, contractors, and project buyers worldwide.
- Competitive factory pricing
- OEM & ODM support
- Stable supply for large-scale projects
📩 Email: teli@bergoto.com
📞 WhatsApp/WeChat: +86 18923119142
Our team will respond within 24 hours.