
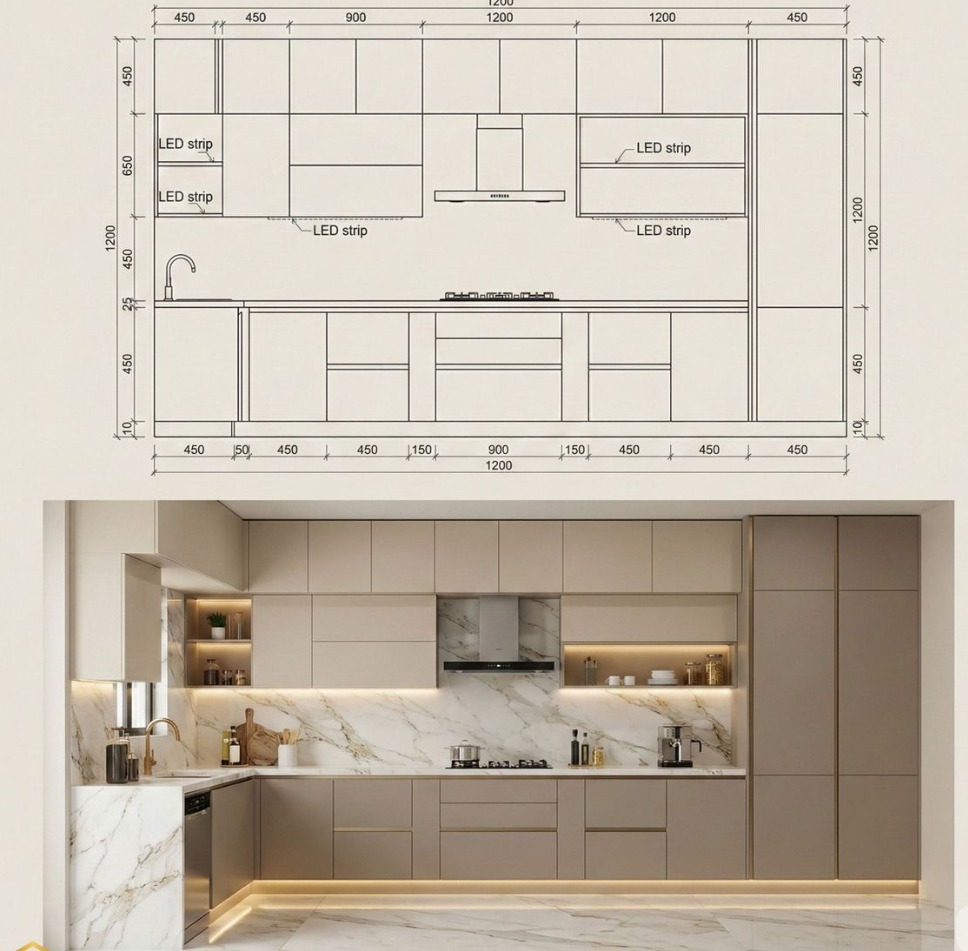
Why Is Cabinet Paint Chipping After Two Years?
Direct answer: Cabinet paint that begins chipping after one or two years usually has an adhesion problem beneath the visible topcoat. Common causes include grease contamination, insufficient sanding, unsuitable primer, excessive coating thickness, incomplete curing, moisture exposure, or movement in the underlying cabinet material.
In cabinet production, project inspection, and after-sales troubleshooting, coating problems commonly appear first around handles, door edges, sink areas, appliance zones, and other high-contact or high-moisture locations. These patterns help contractors, distributors, and property managers determine whether the damage is local or whether the entire coating system has failed.
A durable cabinet finish depends on the complete system: substrate preparation, primer selection, topcoat compatibility, film thickness, drying conditions, and final curing. A premium topcoat cannot compensate for a weak layer underneath.
What Experience Shows About Cabinet Paint Failure
When inspecting cabinet doors with coating damage, the location of the first chips often reveals more than the size of the damaged area.
- Damage around handles often relates to repeated impact, hand oils, cleaning chemicals, or weak adhesion around drilled hardware holes.
- Peeling along door edges may indicate thin film coverage, insufficient edge sanding, or sharp corners that were difficult to coat evenly.
- Bubbling near sinks or dishwashers often points to moisture entering beneath the coating or swelling in the substrate.
- Soft or sticky surfaces may indicate incomplete curing, overly thick coats, or incompatible coating layers.
- Paint releasing in sheets usually suggests a broader adhesion failure rather than a simple impact chip.
These observations are useful for initial diagnosis, but they should not replace a formal coating inspection when a large hotel, apartment, or commercial project is involved.
What Causes Cabinet Paint to Lose Adhesion?
1. The surface was not completely degreased
Kitchen cabinets and bathroom vanities collect cooking grease, soap residue, cosmetics, wax, silicone, and hand oils. Even a thin layer of contamination can prevent primer from bonding directly to the cabinet surface.
This is especially important around handles, range hoods, trash pull-outs, sink cabinets, and frequently cleaned door fronts. Painting over these residues may produce an acceptable appearance at first, but the coating can loosen after repeated use.
2. The old finish remained too smooth
Glossy lacquer, polyurethane, varnish, laminate, and melamine surfaces provide limited mechanical grip. Before recoating, the surface normally needs to be cleaned and sanded to create a consistent matte profile.
Light sanding is not simply for removing old paint. Its main purpose is to create a surface that allows the selected primer to form a stronger bond.
3. The primer did not match the substrate
Primer selection should be based on the actual cabinet material and the existing finish. Solid wood, plywood, MDF, melamine, metal, and previously coated panels do not always require the same preparation or primer system.
Water-based products are not automatically incompatible with old oil-based finishes. Failure is more likely when the surface is glossy, contaminated, under-cured, insufficiently sanded, or coated with a primer that is not approved for that substrate.
For commercial projects, factory-finished bathroom vanities can provide more consistent substrate preparation and coating control than uncontrolled on-site repainting.
4. The wrong topcoat was used
Standard interior wall paint is designed for large, relatively low-contact surfaces. Cabinet doors require coatings that can better tolerate impact, friction, grease, moisture, cleaning agents, and repeated opening and closing.
Depending on the material and production process, suitable systems may include cabinet enamel, water-borne urethane, lacquer, polyurethane, or other coatings specifically rated for furniture and cabinetry.
5. Coats were applied too thickly or too quickly
A coating can feel dry on the surface while moisture or solvents remain underneath. Applying the next coat before the previous layer is ready may cause softness, bubbling, poor intercoat adhesion, or delayed curing.
Drying time should therefore be based on the coating manufacturer’s technical data, temperature, humidity, ventilation, and actual film thickness—not only on whether the surface feels dry.
6. The cabinet was used before the coating fully cured
Dry-to-touch time and full curing time are different. A newly coated cabinet may be ready for limited handling but still be vulnerable to cleaning, standing water, heavy impact, or doors sticking against frames.
Because coating systems cure at different rates, there is no single waiting period that applies to every product. The correct curing schedule should come from the coating manufacturer or the cabinet supplier.
How Can You Check Whether the Coating Has Failed?
The following checks can help with preliminary diagnosis. They are not substitutes for professional laboratory testing.
| Observation | Possible Meaning | Next Step |
|---|---|---|
| One isolated impact chip | Local mechanical damage | Check whether the surrounding coating remains hard and attached |
| Several edges are peeling | Poor edge preparation or broad adhesion weakness | Inspect and refinish the complete door face and edges |
| Paint scratches off with light pressure | Under-curing or weak adhesion | Stop applying additional coats and identify the failed layer |
| Bubbling or swelling near water | Moisture behind the coating or damaged substrate | Remove the damaged finish and inspect the panel underneath |
| Large sheets of paint release | System-wide adhesion failure | Plan complete stripping and refinishing |
Simple field checks
- Visual edge inspection: Examine corners, handle holes, sink cabinets, appliance zones, drawer edges, and door-to-frame contact points.
- Fingernail check: Apply light pressure in a hidden area. A coating that scratches away easily may be under-cured or poorly bonded.
- Limited tape check: A small hidden-area check may reveal loose paint, but it should not be presented as a formal adhesion rating.
Professional adhesion tests, including cross-cut methods referenced by standards such as ASTM D3359 or ISO 2409, require controlled procedures, specified cutting tools, approved tape, and documented rating methods. A home tape test is not equivalent to these standardized tests.
Should the Cabinet Be Touched Up, Refinished, or Replaced?
When a touch-up may be reasonable
A local repair may be suitable when the damage is limited to one impact point and the surrounding coating remains firmly attached. The repair area should be cleaned, lightly sanded, primed when necessary, and coated with a compatible matching finish.
When the full door should be refinished
Complete door refinishing is generally more appropriate when several edges are peeling, the paint scratches off easily, bubbles appear near wet areas, or the finish has become soft and sticky.
Applying new paint over a weak underlying layer does not restore adhesion. The defective material must be removed until a stable surface is reached.
When replacement may be more practical
Replacement should be considered when the underlying MDF or wood panel is swollen, cracked, deeply contaminated, structurally damaged, or repeatedly exposed to moisture.
In multi-unit projects, the labor required to remove, strip, repair, prime, repaint, reinstall, and color-match multiple cabinet doors may exceed the practical value of the existing cabinetry. In these situations, factory-finished vanities or mirror cabinets may offer a more consistent project solution.
What Does a Reliable Cabinet Refinishing Process Include?
- Record the damage pattern: Photograph the affected locations and determine whether the problem is isolated or repeated across multiple doors.
- Identify the substrate: Confirm whether the panel is solid wood, plywood, MDF, melamine, metal, or another material.
- Remove hardware: Detach doors, drawer fronts, handles, and hinges where possible.
- Degrease thoroughly: Remove oil, silicone, wax, soap, dust, and cleaner residue.
- Remove unstable coating: Sand or strip all loose material until the remaining finish is firmly attached.
- Repair the substrate: Correct dents, cracks, exposed fibers, damaged edges, and moisture-related swelling where repair is still practical.
- Select a compatible primer: Follow the primer manufacturer’s substrate and recoating requirements.
- Apply controlled film thickness: Use thin, even coats and respect the specified drying interval.
- Allow sufficient curing: Protect the surface from cleaning, impact, moisture, and sticking during the early curing period.
- Inspect before installation: Check edges, corners, hardware holes, sheen consistency, surface hardness, and visible defects.
What Should Project Buyers Ask a Cabinet Supplier?
For hotels, apartments, villas, retail developments, and distributor orders, coating quality should be discussed before production rather than after installation.
Useful supplier questions include:
- What substrate is used for the doors, side panels, and cabinet box?
- How are door edges sealed and prepared before finishing?
- What primer and topcoat system is used?
- Is the finish sprayed manually or through a controlled production line?
- How are temperature, humidity, dust, and curing conditions managed?
- What adhesion, moisture, color, gloss, and surface inspections are performed?
- Can the supplier provide coating specifications, samples, or inspection records?
- How are production batches controlled for color and sheen consistency?
- What is the process for handling finish defects found before shipment?
Do not evaluate cabinet finish quality only by a showroom sample. Ask how the substrate was prepared, how the coating was cured, what inspections were completed, and whether the production sample matches the final batch specification.
Frequently Asked Questions
How long should a cabinet finish last?
There is no universal service-life figure for all cabinet finishes. Durability depends on the substrate, preparation method, coating chemistry, film thickness, curing conditions, moisture exposure, cleaning products, hardware adjustment, and frequency of use.
A supplier or refinisher should therefore avoid giving an exact lifespan without understanding the installation and operating environment.
Can cabinets be painted directly over an existing finish?
Painting directly over a glossy, contaminated, or unstable surface is not recommended. The existing finish should first be cleaned, tested, sanded, repaired, and coated with a suitable bonding primer.
Is spraying always more durable than rolling?
Spraying usually creates a smoother and more uniform film, while rolling may leave more visible texture. However, durability depends more heavily on surface preparation, coating compatibility, film thickness, drying, and curing than on the application tool alone.
Can peeling paint be covered with another coat?
No. New paint will not correct a weak layer underneath. Loose coating must be removed, and the cause of the adhesion failure should be identified before refinishing.
Does chipping always mean the cabinet must be replaced?
No. A small impact chip may be repairable. Replacement becomes more appropriate when the substrate is swollen, structurally damaged, repeatedly wet, or when coating failure affects multiple doors and surfaces.
About Bergoto’s Project Support
Bergoto supplies bathroom and kitchen products for wholesalers, distributors, contractors, and project buyers. Our product range includes bathroom vanities, mirror cabinets, LED mirrors, towel warmers, and kitchen cabinets.
For project orders, buyers can discuss material selection, surface finish, size customization, packaging, production requirements, and quality inspection before confirming bulk production.
Request Product and Project Information
Contact Bergoto for product specifications, customization options, samples, bulk pricing, and project support.
- OEM and ODM customization
- Material and finish selection
- Bulk-order production support
- Project packaging and shipment coordination
Email: teli@bergoto.com
WhatsApp/WeChat: +86 18923119142
Editorial note: This article provides general guidance for identifying cabinet coating problems. Final repair, testing, or replacement decisions should be based on the actual substrate, coating specifications, installation environment, and an inspection of the affected product.